Motorcycle Safety Gear Checklist for Every Ride
Motorcycle gear only works if you wear it, and it only protects you if it is in good condition. A helmet with a cracked visor, gloves with worn palms, or boots with no grip are not protecting you properly, even if you put them on. The habit of checking your gear before every ride takes less than a minute, and it is one of the simplest safety routines a rider can build.
This checklist covers every item, from helmet to boots, and explains what to look for, when to replace gear, and how to build a pre ride routine that sticks. Use it before every ride, whether you are commuting five minutes or touring for five days.
The Helmet Check
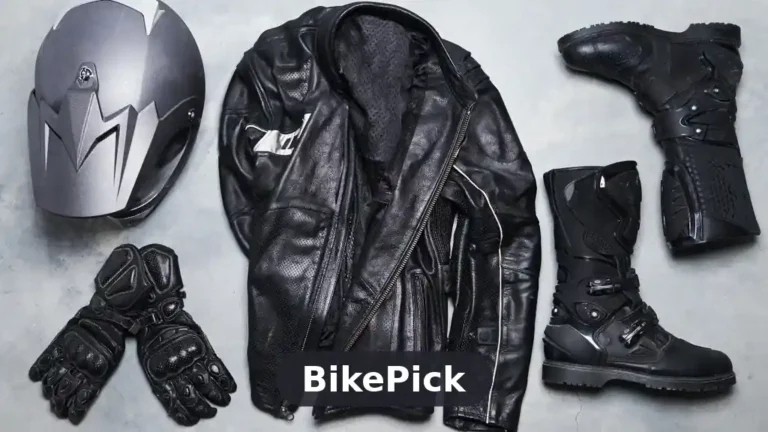
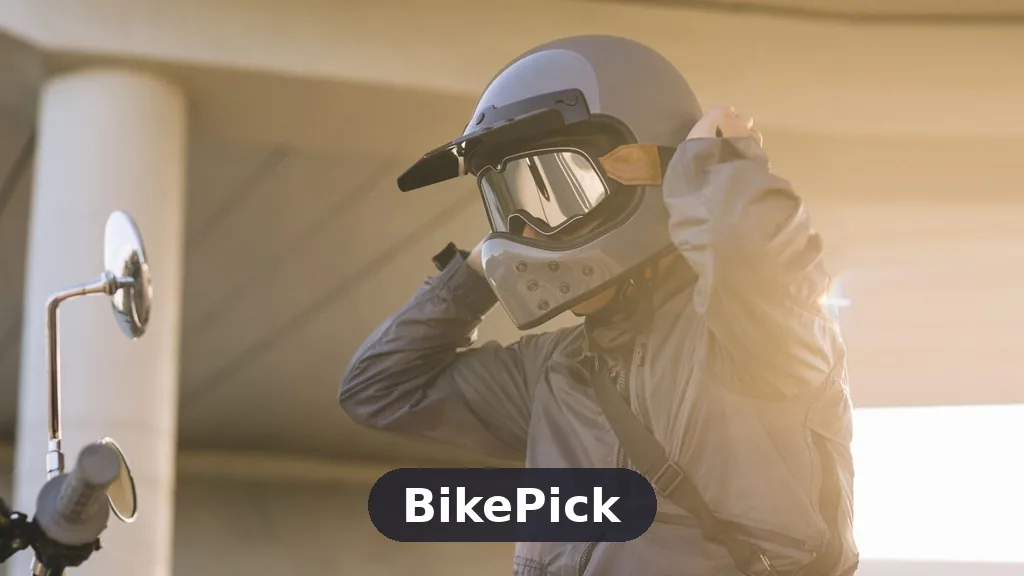
Start with your helmet, because it is the most important item you own. Check the outer shell for cracks, deep scratches, or dents. A helmet that has been dropped hard or crashed should be replaced, even if the damage looks minor, because the inner liner can be damaged without any visible sign outside.
Check the visor. It should be clean, scratch free, and easy to open and close. A scratched visor distorts your view and glares badly in sunlight, and a visor that will not stay open or closed is a distraction. Clean it with a soft cloth and proper cleaner, not with paper towels or harsh chemicals that scratch the surface.
Check the strap and fastening. The strap should be undamaged, the buckle or ratchet should work smoothly, and the helmet should feel snug when fastened. A loose strap means the helmet can come off in a crash, which defeats its purpose. Also check the lining. It should be clean, undamaged, and firmly attached. A lining that has come loose or smells bad needs cleaning or replacing. Our helmet buying guide explains when a helmet needs replacing rather than repairing.
The Jacket and Trousers Check
Check your jacket and trousers for torn fabric, broken zips, and damaged stitching. Pay attention to the seams, because a seam that has come apart will fail in a slide. Check that the armour is in place at the shoulders, elbows, and knees, and that it has not cracked or deformed. Armour that has moved out of position will not protect you where you need it.
Check the closures and adjusters. Zips should run smoothly, Velcro should hold firmly, and straps should adjust easily. A jacket that will not close properly leaves gaps that let in wind, rain, and road rash. If your jacket has a connection zip to your trousers, check that it works and use it. It stops the jacket riding up in a fall.
Check the weather protection. If your jacket is waterproof, the water should bead on the surface rather than soak in. If it soaks in, the jacket needs cleaning and reproofing. Check reflective panels too. They should be clean and visible, because they are part of your safety gear at night, not decoration. Read our motorcycle jacket buying guide for more on materials and armour.
The Gloves and Boots Check
Check your gloves for worn palms, torn stitching, and damaged knuckle protection. The palms take the most wear, and a glove with a worn palm will fail quickly in a slide. Check the closures. A glove that will not stay fastened can be pulled off in a crash. Try them on and make a fist. You should be able to feel the controls clearly, and the gloves should not restrict your fingers.
Check your boots for worn soles, damaged zips or buckles, and cracked protection. The sole should grip well, especially in the wet. A boot with a smooth, worn sole is a slip risk every time you put a foot down. Check that the ankle protection is intact and the boot still supports your ankle properly. A boot that has gone soft and floppy is no longer doing its job.
Check that your gloves and boots still fit properly with the rest of your gear. Glove cuffs should seal with your jacket sleeves, and boot tops should seal with your trouser legs. Gaps let in wind and rain, and they leave skin exposed in a fall. Our guide to motorcycle gloves and boots explains what good fit looks like for both.
The Extras: Visibility, Layers and Weather Gear
Visibility gear is part of your safety checklist, not an afterthought. A high visibility vest or jacket panels help other drivers see you in low light and bad weather. Check that the bright colours have not faded and the reflective strips are clean. A hi visibility item that has faded to grey is not doing its job.
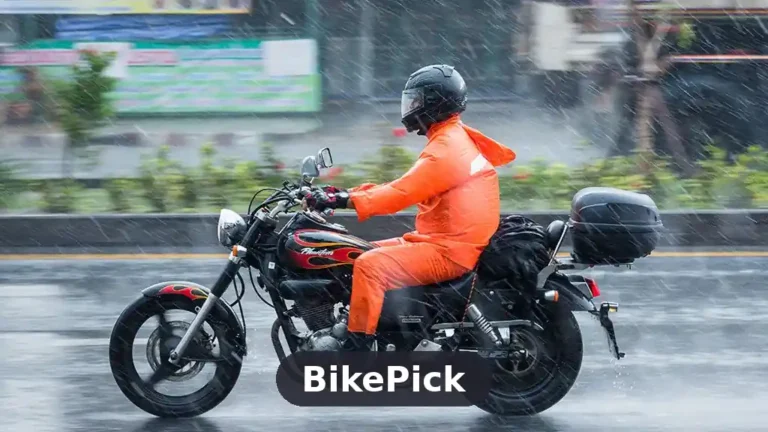
Check your layers for the conditions. In cold weather, make sure you have a wicking base layer and an insulating mid layer. In rain, make sure you have waterproofs packed and ready. In heat, make sure your gear vents properly and you have water with you. The right layers are the difference between a comfortable ride and a miserable one. Our guide to rain riding gear and cold weather riding essentials covers layering in detail.
Check anything else you carry for safety. A small first aid kit, a phone with charge, and a way to be seen if you break down are all sensible additions. Keep them in a place you can reach easily, and check them regularly so they are ready when you need them.
When to Repair, and When to Replace
Some gear can be repaired. A broken zip, a worn lining, or a tired visor can often be replaced cheaply. A scratched visor, a frayed strap, or a loose lining are all fixable, and fixing them is better than riding with damaged gear. Check with the manufacturer or a reputable repairer before you decide.
Some gear must be replaced, not repaired. A helmet that has been in a crash should be replaced, even if it looks fine. Armour that is cracked or deformed should be replaced. A jacket or gloves with torn fabric or failed stitching in a critical area should be replaced. Boots with a failed sole or broken ankle support should be replaced. When in doubt, replace it. The cost of new gear is small compared with the cost of an injury it could have prevented.
Keep a simple record of when you bought each item and when it was last checked. Helmets have a recommended service life of around five years, and other gear wears out at its own pace. A note on your phone is enough. It stops you riding for years in a helmet that should have been replaced long ago.
The One Minute Pre Ride Gear Check
Use this one minute check before every ride. Helmet: shell undamaged, visor clean and clear, strap fastens snugly. Jacket: zips work, armour in place, no torn seams. Trousers: armour in place, closures work, no damage. Gloves: palms intact, closures hold, full feel for the controls. Boots: soles grip, ankle support firm, closures work. Visibility: reflective panels clean, hi visibility gear ready if needed. Weather: layers and waterproofs match the conditions.
Build the check into your routine. Do it while the bike warms up, or while you are putting your gear on. It will become automatic within a few weeks, and it will catch problems before they catch you. Pair it with a basic check of the bike itself, using our new owner maintenance basics, so both you and the bike are ready.
Good gear is not about spending the most money. It is about wearing the right gear, keeping it in good condition, and checking it every time you ride. A well looked after set of gear, worn on every ride, will protect you far better than the most expensive kit left hanging in the garage. Check it, wear it, and ride with the confidence that you have done the simple thing that matters most.
What gear should I check before every motorcycle ride
Check your helmet for damage and a clean visor, your jacket and trousers for torn seams and armour in place, your gloves for worn palms, and your boots for grip and ankle support. Also check visibility gear and weather layers.
How do I know when my motorcycle helmet needs replacing
Replace it after any crash, even if it looks undamaged, and after around five years of regular use. Also replace it if the shell is cracked, the strap is damaged, or the lining has come loose.
Can I repair torn motorcycle gear or should I replace it
Small repairs such as a broken zip or a worn visor are often fine. Replace gear when the fabric or stitching has failed in a critical area, when armour is cracked, or when a helmet has been in a crash.